GTA 6 performance upgrades: engine, brakes, suspension, turbo
GTA 6 performance upgrades cover engine, transmission, brakes, suspension and turbo. Learn what each one is meant to change and how to test it on your car.
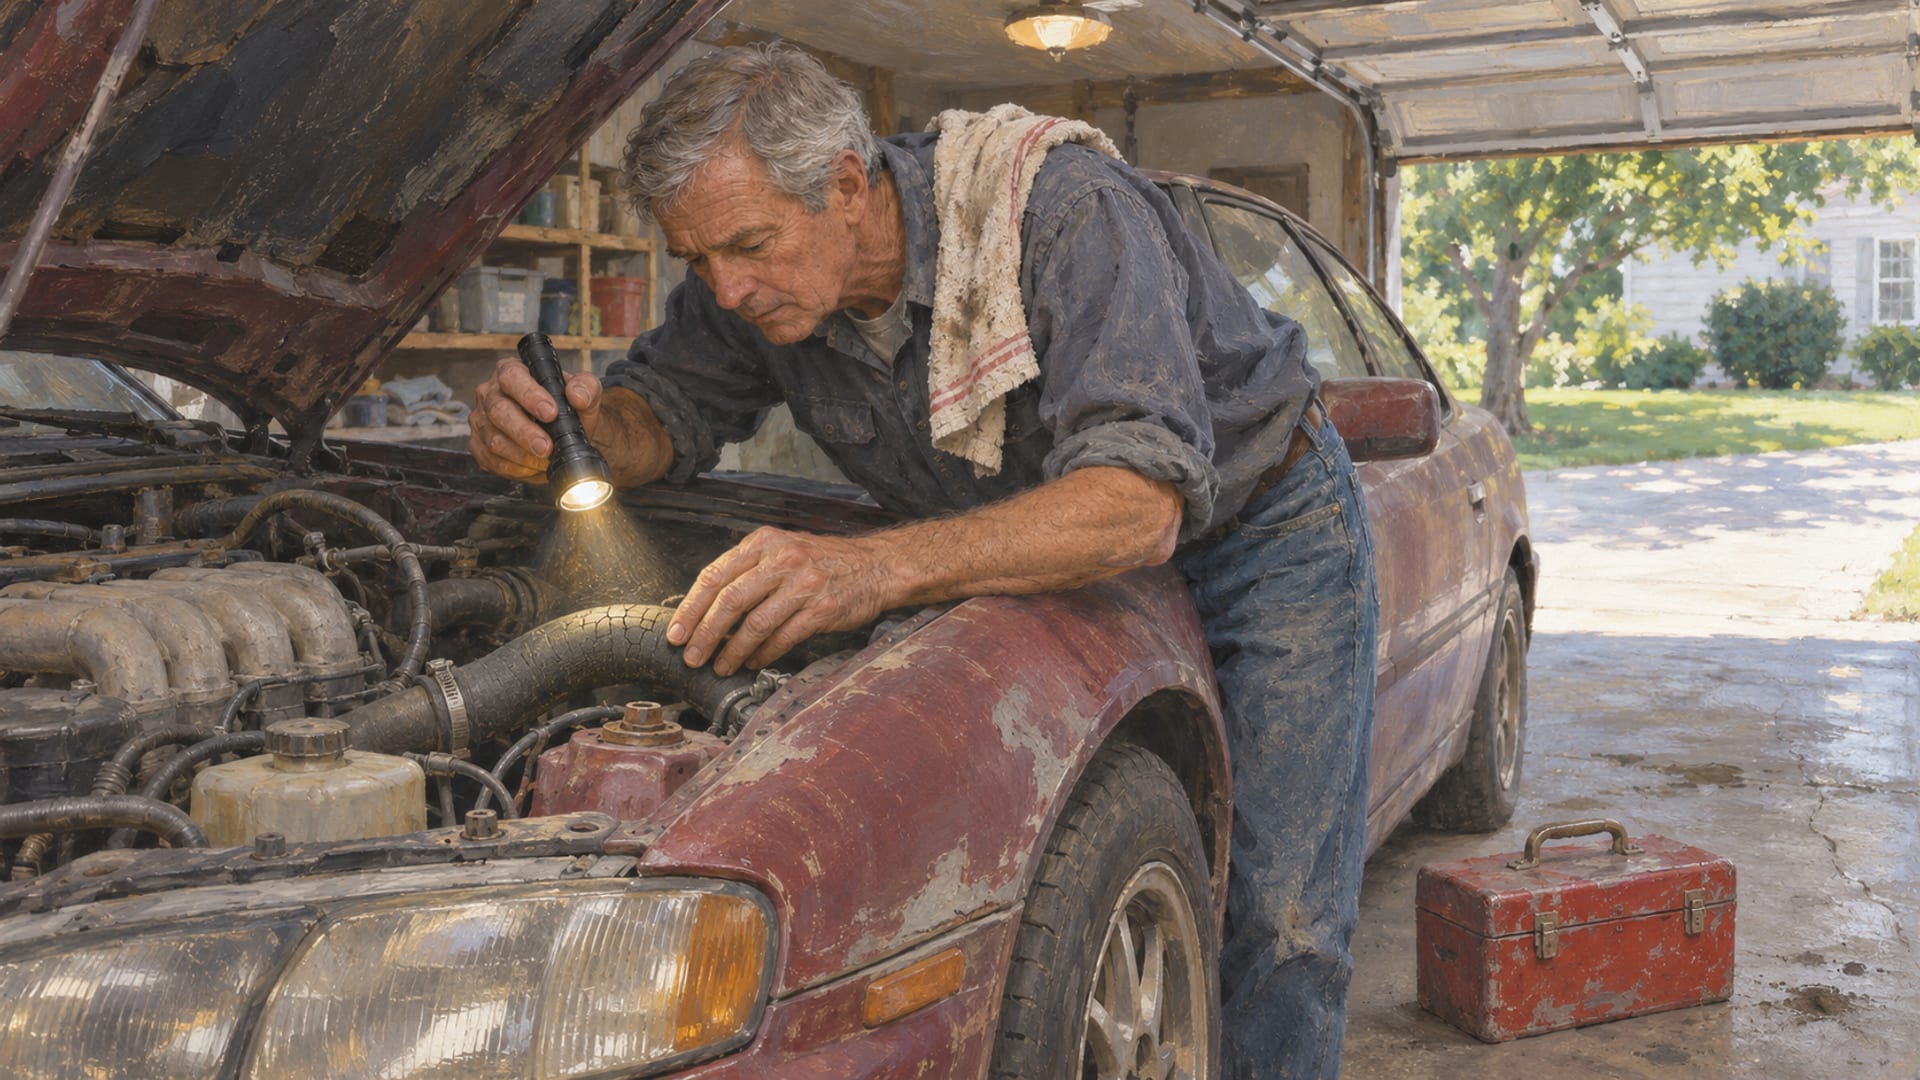
GTA 6 performance upgrades are meant to change how a car accelerates, stops, corners and grips, and the part worth buying depends on the car you drive. On PS5 and Xbox Series X|S, you take the car to a mod shop, open the Performance section and read what each part does on that car's stat card.
Rockstar's launch pages name the vehicle mod shops, including Rideout Customs and One-Eyed Willie's Mod Shop in the Ultimate Edition. What each part changes shows up in the live menu, so the reliable method is simple: repair the car if the shop asks, change one part at a time, and drive the same route before and after.
Edition, story progress, vehicle eligibility, the shop you visit and the game version can each change what a menu offers. Treat the numbers on your own screen as the answer for your own car.
Key Takeaways
Match the goal
Pick a category by the driving result you want, such as quicker launches, shorter stops, sharper corners or better dirt grip.
Read the stat card
The live stat card for your specific car is more useful than any generic ranking of parts.
One change at a time
Change a single part, note the price and the displayed change, then test on the same route.
Record the conditions
Write down your platform, game version and the date, because patches, editions and story progress can change what a shop offers.
What each upgrade category is meant to change
Think of the Performance section as a set of answers to separate driving questions. Does the car leave a stop quicker? Does it stop sooner? Does it hold a corner? Does it cope with dirt? Does it survive a hit? Each category is aimed at one of those questions, and a few touch more than one.
Community planners and launch-day guides describe a similar spread of categories: engine, transmission, brakes, suspension, turbo, wheels or tyres, armour plating, nitrous or other temporary power, and off-road tuning. The names and the number of levels can differ by car and by version, so the live menu is the place to confirm what your shop actually lists.
One caution before the details. GTATracker's upgrade planner lists Engine Upgrade, Turbo, Transmission, Brakes, Suspension, Sport Wheels, Armour Plating, Bulletproof Tyres and Weapons and Countermeasures, and it labels its values as estimates that are being replaced as its team checks them in the game. Use it as a checklist of names, and leave its numbers out of any decision about how a part works.
Engine and transmission for acceleration
Engine work is the category most players reach for first. More engine power should mainly affect how quickly the car gains speed and may affect top speed, but the size of the change in GTA 6 is something you read off the stat card, not something to assume. Community guides report that the stat card shows the change for the car in front of you.
Transmission is a separate part. It controls how engine power travels through the gears to the wheels, so it is meant to change how the car pulls through its gear changes. If you are comparing it with an engine upgrade, treat them as two tests, because a combined change hides which part did the work.
A useful habit is to decide what kind of acceleration you want before you spend. A launch from a standstill at a traffic light and a long pull up a highway ramp can reward different parts. Run both tests, write down the result of each, and keep the part that helps the situation you drive in most.
If you are shopping for a car you plan to keep, engine and transmission are also the parts most likely to interact with turbo, so test them one at a time before adding anything on top.
Brakes for stopping
Brakes are meant to improve how quickly the car slows down or how it responds when you hit the pedal. Players tend to skip them in favor of speed, then find the car runs wide into a turn or drifts past a stop. A part that makes you quicker in a straight line gives you more to stop, so it is fair to compare brakes whenever you add power.
A reliable way to judge a brake upgrade is a controlled stop. Pick a long, straight road with light traffic, reach the same speed each time, brake at the same landmark and see where the car comes to rest. A stat card gives you an indicator; your own repeated stop tells you whether the difference matters for the way you drive.
Keep the car's condition in mind too. Damage can change how a car behaves, so repair it before you start and note if anything gets knocked loose mid-test.
Suspension, wheels and tyres for handling
Suspension is meant to change handling, ride height, cornering behavior and how the car responds to rough surfaces. The effect varies by car, which is why a part that suits a low sports coupe may do little for a pickup. Test it on a route with bends and a few bumps so you see both cornering and surface response.
Wheels and tyres can affect grip, durability and terrain response, and the exact result in GTA 6 needs vehicle-by-vehicle testing. Road and off-road conditions should be tested separately, because a change that helps on asphalt can behave differently on dirt.
Wheels are also a style choice. The look of a rim, its size and its finish belong to appearance, and the GTA 6 wheels and rims guide covers that side. If a wheel option is cosmetic only, treat it as cosmetic: it can look great without being a performance upgrade, and the stat card will tell you which one you are buying.
Turbo and nitrous for power
Turbo is forced induction, which is meant to increase engine output. The public planner lists it as affecting speed and acceleration, with its values marked as estimates. In the live game, check what the stat card shows after you add it, and compare that with the engine part you already have.
Nitrous is a different idea: a temporary burst of acceleration or speed rather than a permanent change. GTA6Motors, an independent community guide, reports a nitrous example, and availability, price and duration look vehicle- and version-dependent. Keep permanent turbo tuning and temporary nitrous separate in your notes, because they answer different questions.
When you test a temporary system, note how long it lasts and how long you wait before using it again, if the game shows that. Those two details tell you more about daily driving than a single top-speed run.
Armour and off-road tuning
Armour plating adds protection, and a heavier car may give up some acceleration or agility if the current vehicle model applies a weight tradeoff. That is a reason to record two things after you buy it: how the car handles damage, and whether the launch and cornering you measured earlier got worse.
Off-road tuning is aimed at dirt and uneven ground on vehicles that support it. Creator and community reports point to terrain-specific parts and off-road handling, so test on the same patch of dirt before and after, in the same weather and at the same speed. If you spend most of your time on pavement, a part built for rough ground may matter less to you than brakes or suspension.
For a look at where the game's rough ground and open roads sit, the Leonida map page is a good place to plan a test route.
Match a goal to a category
This table pairs a driving goal with the category to compare first and what to check. It describes what each part is meant to change, not measured results, because those come from your own car.
Which category to compare for your goal
| Driving goal | Compare first | What to check |
|---|---|---|
| Quicker launches | Engine, transmission, turbo | Stat card change, then the same standing start before and after |
| Shorter stops | Brakes | The same stop from the same speed at the same landmark |
| Sharper cornering | Suspension, wheels, tyres | The same bends, with road and off-road tested separately |
| Better dirt performance | Off-road tuning, tyres | The same dirt route in the same weather |
| More protection | Armour plating | Durability, plus any acceleration or agility cost |
| Cosmetic change only | Paint, bodywork, wheels, interior | Appearance only, not a performance claim |
A working sequence for testing one part at a time
The sequence below keeps each result tied to one change, so you know which purchase helped. It also gives you notes you can compare later, after a patch, or share with other players. Community guides such as GTA6Motors report that shops ask for a repair first and show stat-card fields, and The Click GG reports a Performance tab and a shop called Coastal Auto Care. Confirm each in your own menu.
Test one upgrade at a time
Confirm your version
Note your platform and the current game version before you start.
Choose a car to keep
Test on a vehicle you intend to drive, not one you plan to leave behind.
Repair first
If the shop requires a repair before modifying, do it before you touch the Performance section.
Record the stock car
Write down the speed, acceleration, braking, handling, off-road and strength indicators as shown.
Change one part
Buy or apply a single upgrade so you can tie any change to it.
Note price and change
Record the price and the stat change the menu displays.
Drive the same route
Test the car before and after on the same route.
Note the conditions
Write down weather, road surface, damage, controller settings and traffic.
Label the result
Mark it as observed in game with the date and your game version.
Recheck after patches
Run the test again after a major update, since effects and prices can change.
The same route matters more than the length of the route. A short loop with a straight, a bend and a rough patch, driven the same way each time, beats a long cruise that changes with traffic.
Edition, shop, progress and platform limits
GTA 6 launched worldwide on November 19, 2026 for PlayStation 5 and Xbox Series X|S, according to Rockstar's Out Now page. Vehicle customization is a console topic here; for PC and GTA 5 mods, the PC countdown and mod rules pages cover what applies.
The Ultimate Edition includes Rideout Customs Mod Shop and One-Eyed Willie's Mod Shop, and Rockstar's support page says Ultimate Edition can be added to a Standard Edition through an upgrade. Rockstar's pages name those shops and show them in screenshots alongside customized vehicles. Individual parts show up in the shop menu itself. Before paying for an edition upgrade, compare the menu categories each shop offers. This fan site is unofficial and has no connection to the in-game shop that shares its name.
Standard Edition access, shop unlock timing and vehicle eligibility are worth checking in your own game. Look at the map and your story progress, and if a car is missing a category, check whether that vehicle supports it. The mod shop locations guide lists where to find shops, and the One-Eyed Willie's mod shop guide covers what that shop offers. Edition questions have their own page in One-Eyed Willie's and the Ultimate Edition.
Platform conditions affect how you read a test, too. Rockstar's pre-load notice describes a 30 frames per second target on current-generation consoles, PS5 Pro clarity through PSSR and ray-traced shadows, and Xbox Cloud Gaming using Xbox Series S graphics settings. Note your platform and mode with each test so comparisons stay fair.
Rockstar's GTA+ page lists vehicle mod-shop discounts among its benefits, so a membership may change the prices you see. Check the live menu for the actual amounts.
How to weigh claims about parts
Rockstar's pages cover the launch date, the platforms, the Ultimate Edition shops and imagery of mod shops and customized vehicles. For what a part does, rely on the stat card in your own game.
Creator videos and guides can demonstrate a menu or a test result on one build, but not what Rockstar intends a part to do. Marlon XGamer's video Unique Customizations at GTA 6's Rideout Customs Shop: Ultimate Edition is a place to see what the shop's customization looks like. For performance numbers, run your own test.
When you read a claim about a part, ask four things: which car, which platform, which game version and which date. If a claim leaves those out, treat it as a lead for your own test. When you run one, you are adding a dated observation, and that is the kind of note that stays useful after a patch.
Questions players ask
Do engine upgrades make a car faster? Engine power is meant to affect acceleration and may affect top speed. The size of the change is on the live stat card for your car, so compare it before and after.
Does transmission improve acceleration? It is meant to change how power moves through the gears, which can show up in how the car pulls. Test it on its own, away from any engine change.
Do brakes reduce stopping distance? They are intended to improve stopping or braking response. A repeated stop from the same speed at the same landmark shows whether the difference matters to you.
Does turbo increase top speed? Turbo is meant to increase engine output, and the planner lists speed and acceleration. Check the stat card, and keep turbo notes separate from nitrous.
Can Standard Edition players upgrade cars? Rockstar's edition pages name the two Ultimate Edition shops. For ordinary shop access and unlock timing, check the map and your story progress in the current version.
How should I test after a patch? Record the game version, repeat your earlier route and compare the stat card and your timings with your saved notes.
If you tune a car you are proud of, you can share the build with other players through the submit page, and the customization guide covers the shop menus beyond performance. The garage is a good place to see how other players put their builds together.
Glossary
Tap a term to see what it means.
Acceleration. How quickly the car gains speed.
Top speed. The highest speed the car reaches under the test conditions.
Braking. How quickly or controllably the car slows down.
Handling. How the car responds to steering and weight transfer.
Off-road handling. How the car behaves on dirt, grass, sand or uneven surfaces.
Turbo. Forced induction intended to increase engine output.
Nitrous. A temporary power or speed effect on vehicles or builds that offer it.
Suspension. Components that influence ride height, stability and surface response.
Related articles
Radio and music in GTA 6: changing stations and custom tracks
Radio and music in GTA 6: hold Left on the D-pad, pick a station with L1/R1 or LB/RB, and release Left. Here is how to turn it off and listen on foot.
How to switch between Jason and Lucia in GTA 6
How to switch between Jason and Lucia in GTA 6: hold D-pad Right, then press R1 on PS5 or RB on Xbox after Coffee Break. Why a switch may be greyed out.
Customizing motorcycles and boats in GTA 6: shops and options
Which GTA 6 shops work on bikes and boats, which edition includes the Dinka Enduro and Shitzu Squalo, and where boat upgrades stand at launch.