GTA 6 photo mode tips for better screenshots
GTA 6 photo mode: Open Photo Studio from the pause menu for planned shots. Frame with the grid, set depth of field, add light layers, choose Save Photo.
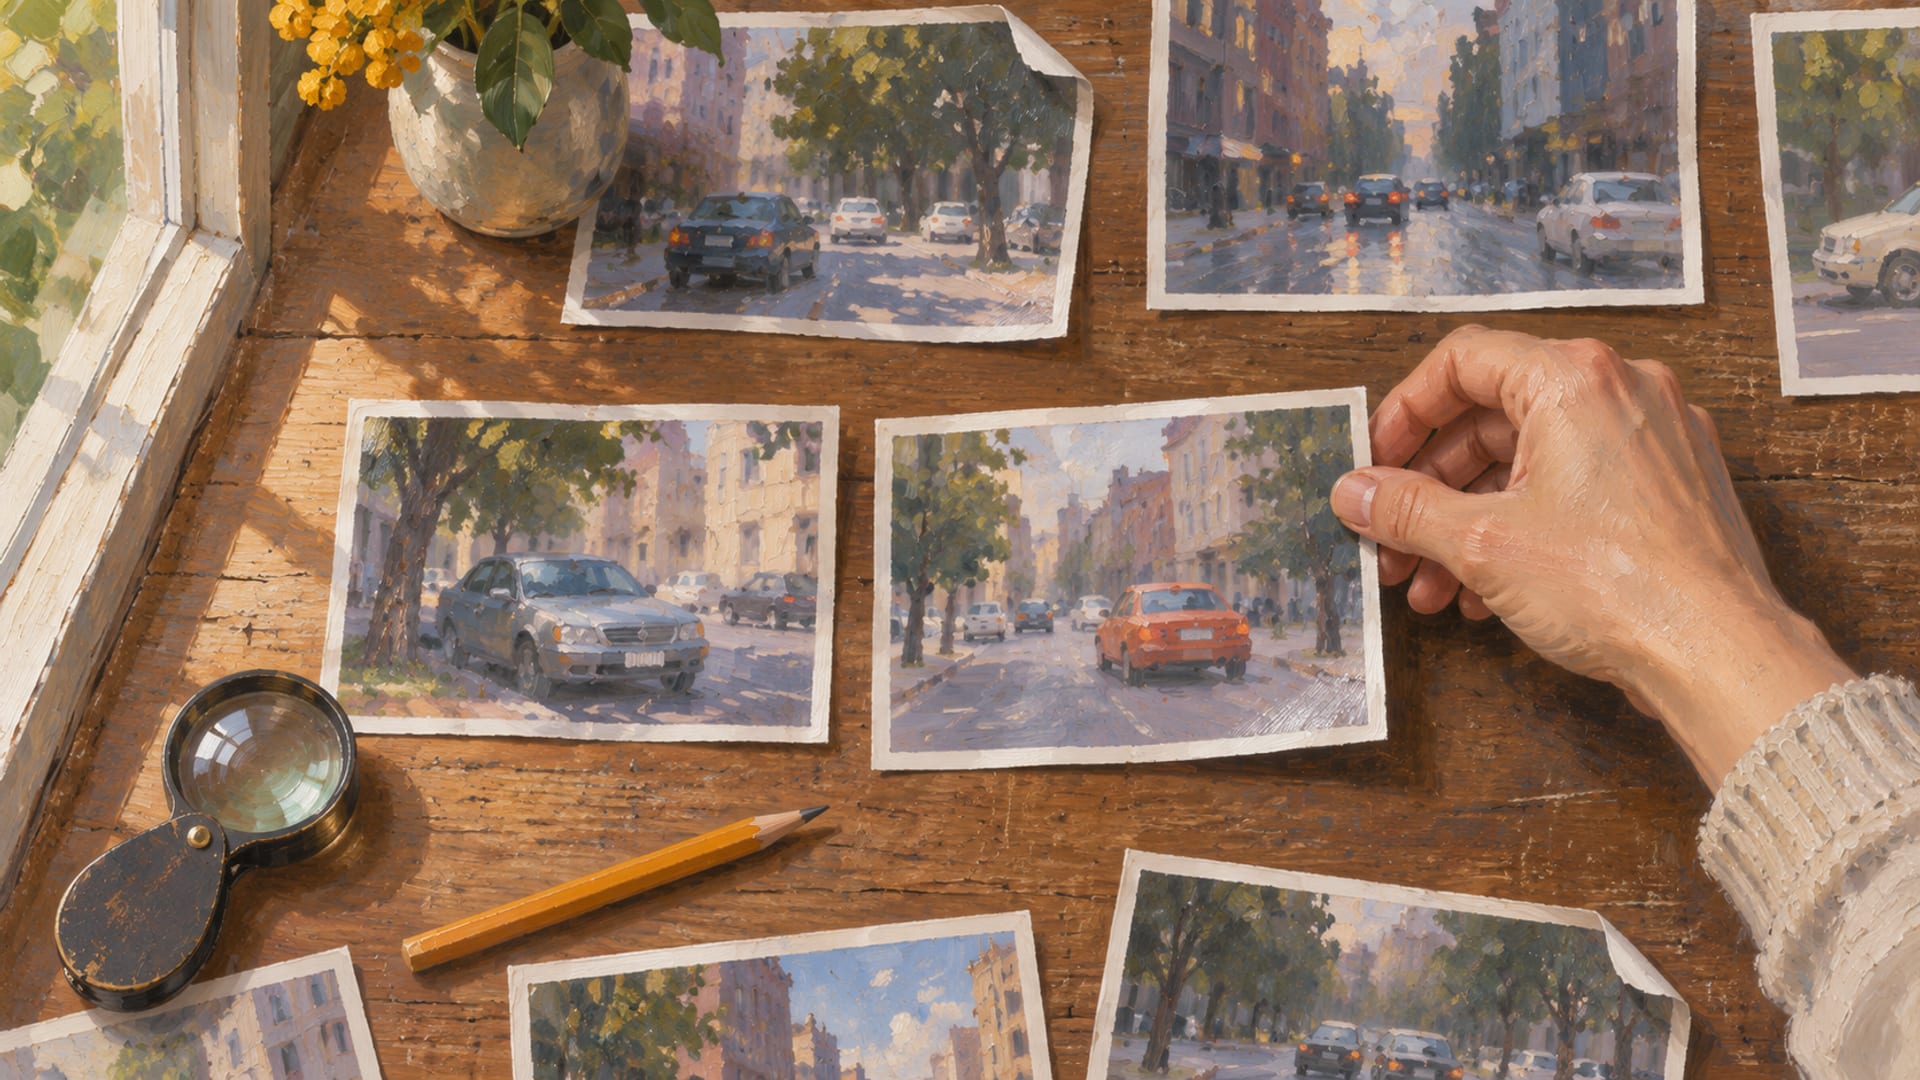
GTA 6 gives you two camera tools. Photo Studio, opened from the pause menu, is for planned car and character shots. The in-game phone Camera is for quick photos and selfies.
For a screenshot you plan to keep, pick the scene first, then pause and open Photo Studio. Set the aspect ratio, line up the subject with the grid, set focus distance and depth of field, add one or two light layers, and choose Save Photo.
Photo Studio and the phone Camera are on PS5 and Xbox Series X|S, the two platforms Rockstar lists for the November 19, 2026 launch. Menu names and controls can change after updates, so trust the labels on your screen over any written guide.
Key Takeaways
Photo Studio
Open it from the pause menu for planned car and character shots, with camera, effects, lighting, vehicle and overlay controls.
Phone Camera
Use it for quick photos and selfies, since it adds zoom, flash, poses, expressions and a partner pose.
World first
Choose the time of day, weather and location before you pause, because Photo Studio adjusts camera, lighting, effects and overlays, not the world.
Clean file
Hide the interface and use Create on PS5 or Share on Xbox for a system screenshot, or choose Save Photo to store the frame through the game.
Photo Studio or the phone Camera
The two tools overlap only a little. Photo Studio is the one that behaves like a small camera rig. Previously Staff's GTA VI photo mode guide describes it as a place for framing, focus, color, effects and lighting. That makes it the tool for a car parked under a streetlight or a character standing in front of a storefront.
The phone Camera is the quick one. Open the in-game phone, select Camera, and press R2 on PS5. TechWiser's Shida Aruya, in How to Take Photos and Selfies on Your Phone in GTA 6, covers the rear camera, zoom, filters and flash, plus selfies, poses and expressions. Previously also lists a partner pose.
That split matters for characters. Poses, expressions and a partner pose are on the phone Camera, so a posed selfie is a phone job and a lit portrait is a Photo Studio job.
Which capture tool to open
| Tool | Use it for | Controls reported at launch |
|---|---|---|
| Photo Studio | Planned car, character and scenic compositions | Camera, depth of field, effects, lighting, vehicle controls, overlays |
| Phone Camera | Quick action photos and selfies | Rear and front camera, zoom, filters, flash, poses, expressions, partner pose |
| PS5 capture | A clean system screenshot | Create menu, screenshot format, HDR, Media Gallery |
| Xbox capture | A clean system screenshot | Share button, console capture and sharing |
When each tool becomes available
Previously reports that Photo Studio is available during the early playable story. The phone Camera arrives after the early story section where you control Jason. If you can pause but cannot find the phone Camera yet, keep playing, and use Photo Studio in the meantime.
Unlock timing is one of the details most likely to change in a patch, so treat it as a launch-build observation. If you play a different console edition than the one a guide was written on, confirm the menu on your own console.
Open Photo Studio on PS5 and Xbox Series X|S
Pause the game and choose Photo Studio. Insider Gaming's report on whether GTA 6 has a photo mode and TotalGTA's controls rundown for PS5 and Xbox both describe the pause-menu route, and TotalGTA also lists a shortcut. Use the pause menu as the route to rely on, and confirm any Xbox button shortcut on your own console.
Cutscenes are a different story. Some effects can be unavailable during cutscenes, so use whatever the on-screen menu offers in that moment.
GTA 6 is a console release for now. Rockstar's launch page lists PS5 and Xbox Series X|S, and Rockstar has not announced a PC version. For future PC coverage, keep an eye on the PC countdown.
A repeatable routine for better screenshots
A fixed order saves time, because the settings build on each other. Frame first, then focus, then light, then polish. If you change the camera angle late, you will usually have to redo focus and lighting, so lock the composition early.
The sequence below follows the launch guides from TechWiser and Previously. Treat the order as a habit rather than a rule, and skip a step when the shot does not need it.
Photo Studio routine
Pick the scene
Park the car or place the character in the open world, with the time of day and weather you want.
Open Photo Studio
Pause the game and choose Photo Studio.
Set the frame
Choose the aspect ratio and camera position, then use the grid to place the subject.
Set focus
Adjust focus distance and depth of field so the badge, headlights or face stays sharp.
Shape the light
Add one directional light layer and one softer one, then tune exposure, highlights and shadows.
Check the subject
For a car, set headlights, brake lights, turn signals and fog lights. For a character, check visibility and expression.
Finish lightly
Add a restrained filter or overlay only if the shot calls for it.
Save
Choose Save Photo, or hide the interface and use the console capture button.
Car photography: framing, field of view and vehicle lights
Start in the Camera tab. TechWiser's guide suggests placing the car off-center with the grid and leaving space in front of it, so the car looks like it is moving into the frame instead of sitting against the edge. Roll is also in the Camera tab if the horizon needs leveling.
Field of view changes how the body of the car reads. Previously recommends a moderate field of view for a natural shape, noting that a wider one shows more of the surroundings but can exaggerate the front or rear of a vehicle. For a hero shot of a custom build, that exaggeration usually works against the paint and wheel work you want to show off.
Next comes focus. Photo Studio lists depth of field, aperture and focus distance in the Camera tab. Put the focus point on the badge, a headlight, a wheel or the driver area, then adjust depth of field until the background softens without losing the part of the car you care about.
Vehicle controls
The Vehicle tab is where a car shot becomes a staged one. TechWiser lists vehicle visibility, headlights, brake lights, turn signals and fog lights. Headlights on at dusk give a car a bright front end for the camera to find, and brake lights add a red accent at the rear when you shoot from behind.
If you want ideas for what to put on the car before you shoot it, the garage collects build ideas, and the car customization guide covers the options in the shop. The wheels and rims guide helps when the wheels are the point of the shot.
Character photography: portraits, outfits and selfies
For a portrait, TechWiser's guide says to keep the eyes or face on the focus point, then lower depth of field until the background separates. Stop before hair, hands or clothing start to look unnaturally soft. The goal is a face that stays sharp while the street behind it turns into color.
Light changes what the outfit looks like. Amateur Photographer's Jon Stapley, in his Photo Studio article, points to side light for texture in clothing and stronger facial shape, and softer frontal light for a clearer view of the outfit. Pick the one that matches what you want to show, a fabric detail or the whole look.
Keep filters and chromatic effects light when the picture is about the outfit. TechWiser's advice is restraint, and it makes sense: a heavy color grade changes the clothing colors you spent time choosing.
Selfies, poses and expressions
For poses, expressions and a partner pose, switch to the phone Camera. Those controls are reported on the phone and not in Photo Studio, so plan the shot in two passes: a posed selfie on the phone, then a lit full-body shot in Photo Studio.
If you are still choosing the outfit, the wardrobe is the place for character looks. The character customization guide explains the options, and the picks for Jason and Lucia are style suggestions for a stated look.
Lighting, exposure and effects
Photo Studio's Lighting tab offers up to five additional light layers in launch reporting. Each one has adjustable intensity, color or hue, position, range, size and beam controls. Five is a ceiling, and it is not a target.
Two layers carry most shots. Use one directional light for shape, and one softer light to lift deep shadows. Stapley's article shows five-layer setups, light presets and portrait-lighting examples, which is useful if you want to see how far the system goes before you decide what to keep.
The Effects tab holds exposure, contrast, highlights, shadows, saturation, sharpness, grain, temperature, tint, gamma, lens flare, bloom and chromatic aberration. Exposure and shadows change the picture most, so start there. Temperature and tint help match the mood of the scene, warmer for sunset and cooler for a night street.
Overlays, listed separately, hold gameplay effects, filters, filter intensity, vignette and color isolation. If a vignette is darkening the corners of your frame, the Overlays tab is where it appears. Filters and color isolation are easy to overdo, so add them last and keep the intensity low.
Time of day, weather and location
Plan the world before you pause. Insider Gaming reports that Photo Studio adjusts camera, lighting, effects and overlays, and does not change the time of day or weather. Treat time and weather as something you choose in the open world, then photograph.
Stapley's suggestions for existing light are useful here: neon streets for color contrast, sunrise or sunset for long highlights, rain or mist for atmosphere, and open roads or beaches for clean silhouettes. These are composition choices based on what the world is doing at that moment, so they will not appear as menu options.
Location matters just as much. The Leonida map page covers the map players customize in, and it helps to choose a spot before you drive a build there. A quiet road with a clear horizon gives a car room to breathe in the frame.
Save a clean file on PS5 and Xbox
Photo Studio's Save Photo stores the finished image through the game's own capture flow. TotalGTA's rundown describes that behavior, and the console capture tools provide a separate route to the system media library.
For a clean system screenshot, hide the interface first. On PS5, use the Create button. Sony's capture guide explains the screenshot format and HDR settings, and its Media Gallery page covers viewing, USB transfer, sharing and editing.
On Xbox Series X|S, use the Share button on the controller. Xbox's console experience page describes capture and sharing from the controller. Match your HDR and screenshot settings to the display you are using, since a setup that looks right on one television may not on another.
Once the files are on your console, the screenshot sharing guide walks through moving them off the system. For motion shots of a build, the YouTube clips guide covers recording.
Common questions
Can Photo Studio change the weather or time of day? Insider Gaming reports that Photo Studio does not change them, since it adjusts camera, lighting, effects and overlays. Set both in the open world before you pause. Check the current update notes before relying on a change.
How do I take a selfie? Open the in-game phone and select Camera. On PS5 the launch build uses R2 for the shot, and selfies are part of the phone's camera features. Poses, expressions and a partner pose are reported on the phone.
Where do my photos go? Save Photo stores the image through the game's capture flow, and console capture sends a screenshot to the system media library. Check your console storage and the in-game gallery before a long session.
Is GTA 6 on PC? Rockstar's launch page lists PS5 and Xbox Series X|S. For the current PC status, use the PC countdown, and read the mod rules before you touch any mod.
Next step
When you have a frame you like, submit a public post link. The photo mode explainer covers the basics of opening the tool, and the blog has more guides for builds and looks.
Glossary
Tap a term to see what it means.
Photo Studio. GTA 6's pause-menu photo tool for planned shots, with camera, effects, lighting, vehicle and overlay controls.
Phone Camera. The in-game camera app used for regular photos, selfies, poses and expressions.
Depth of field. The focus-and-blur control that separates a subject from its background.
Aperture. A Photo Studio control used together with focus distance and depth of field.
Field of view. The width of the visible scene in the camera frame.
Lighting layer. An added, adjustable light source in Photo Studio, with up to five reported at launch.
Snapmatic. The phone-based photo and social feature described in launch coverage.
Console capture. The PS5 or Xbox system screenshot function, separate from Save Photo.
Related articles
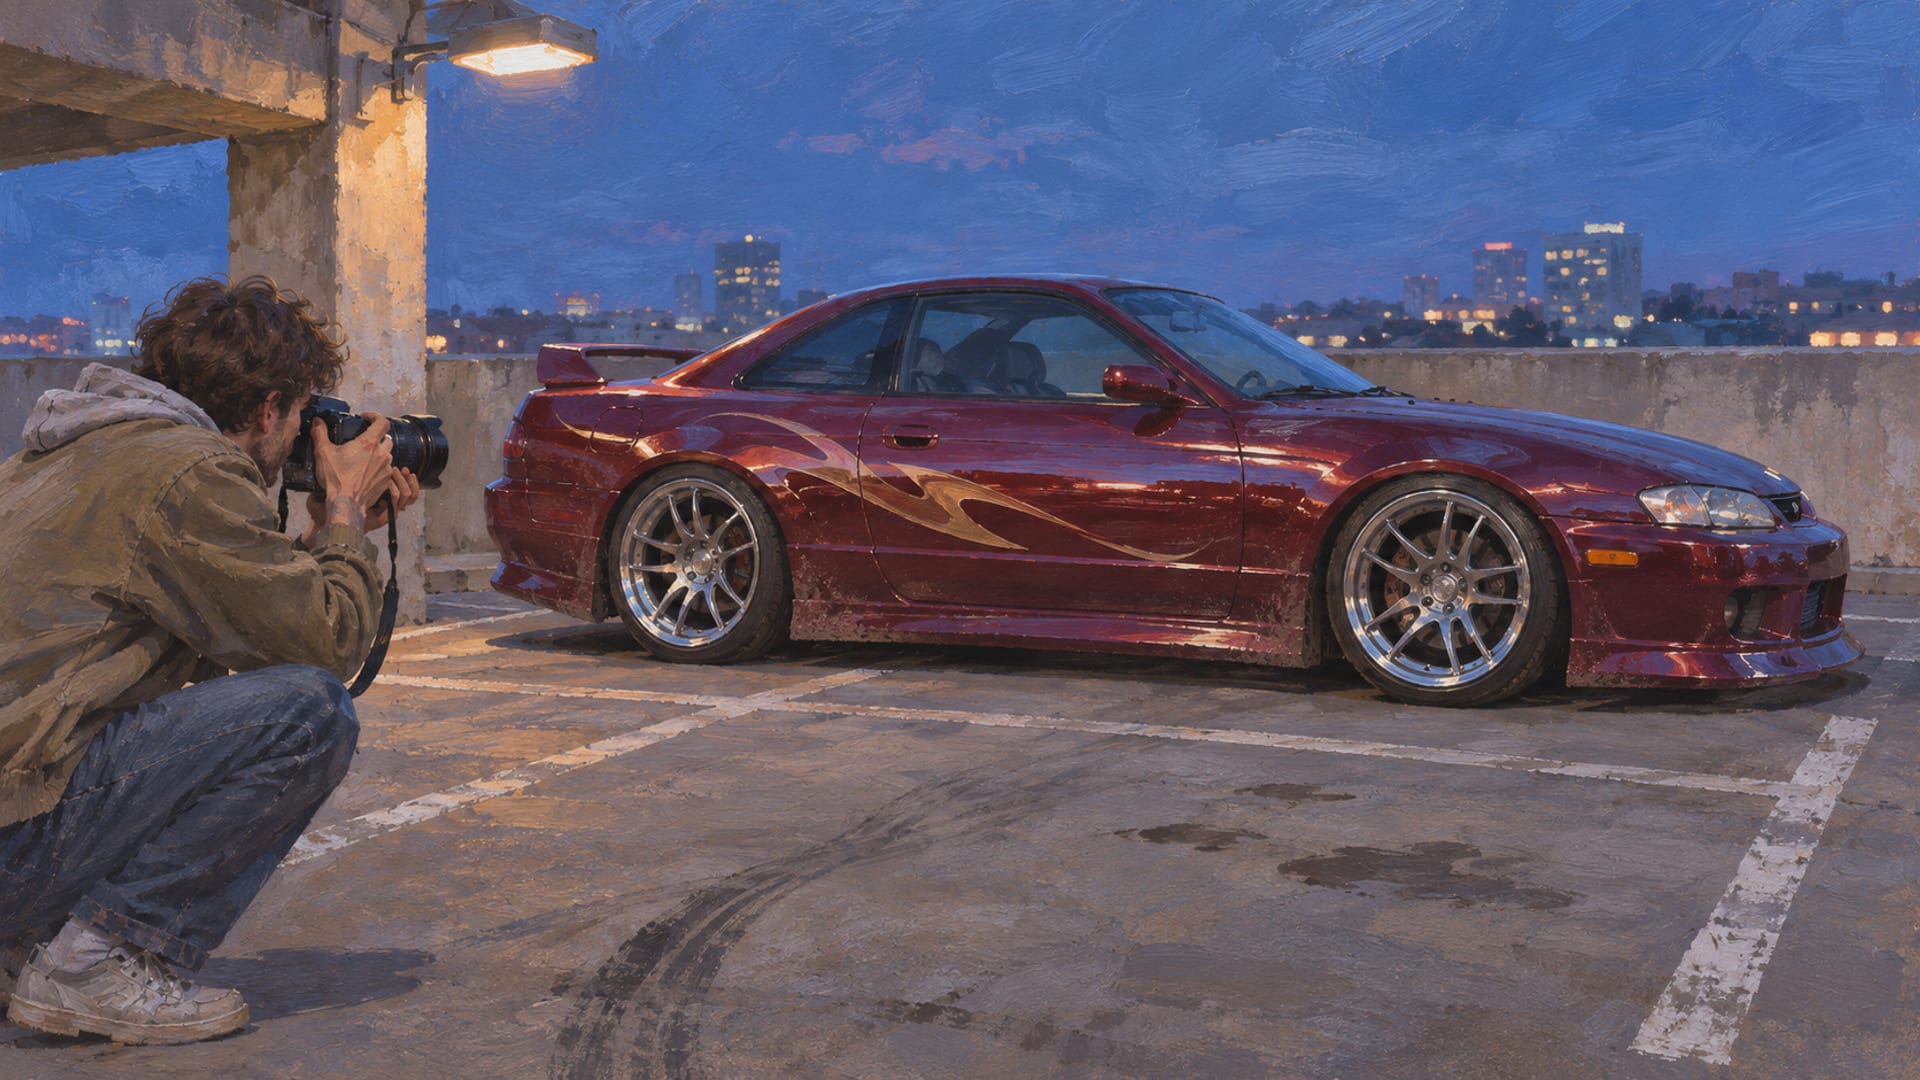
Does GTA 6 Have Photo Mode? How to Use Photo Studio
Yes, GTA 6 has Photo Studio on PS5 and Xbox Series X|S. Open it from the pause menu with Square or X, frame the shot and hide the UI before you capture.
How to record GTA 6 clips for YouTube on PS5 and Xbox
Record GTA 6 clips on PS5 or Xbox Series X|S with the built-in capture tools, move them to a phone or computer, then upload through YouTube Studio.
How to take and share GTA 6 screenshots on PS5 and Xbox
GTA 6 screenshots on PS5: press Create, choose Take Screenshot. On Xbox: press Share. Move captures to a phone with the PlayStation App or Xbox mobile app.