Does GTA 6 Have Photo Mode? How to Use Photo Studio
Yes, GTA 6 has Photo Studio on PS5 and Xbox Series X|S. Open it from the pause menu with Square or X, frame the shot and hide the UI before you capture.
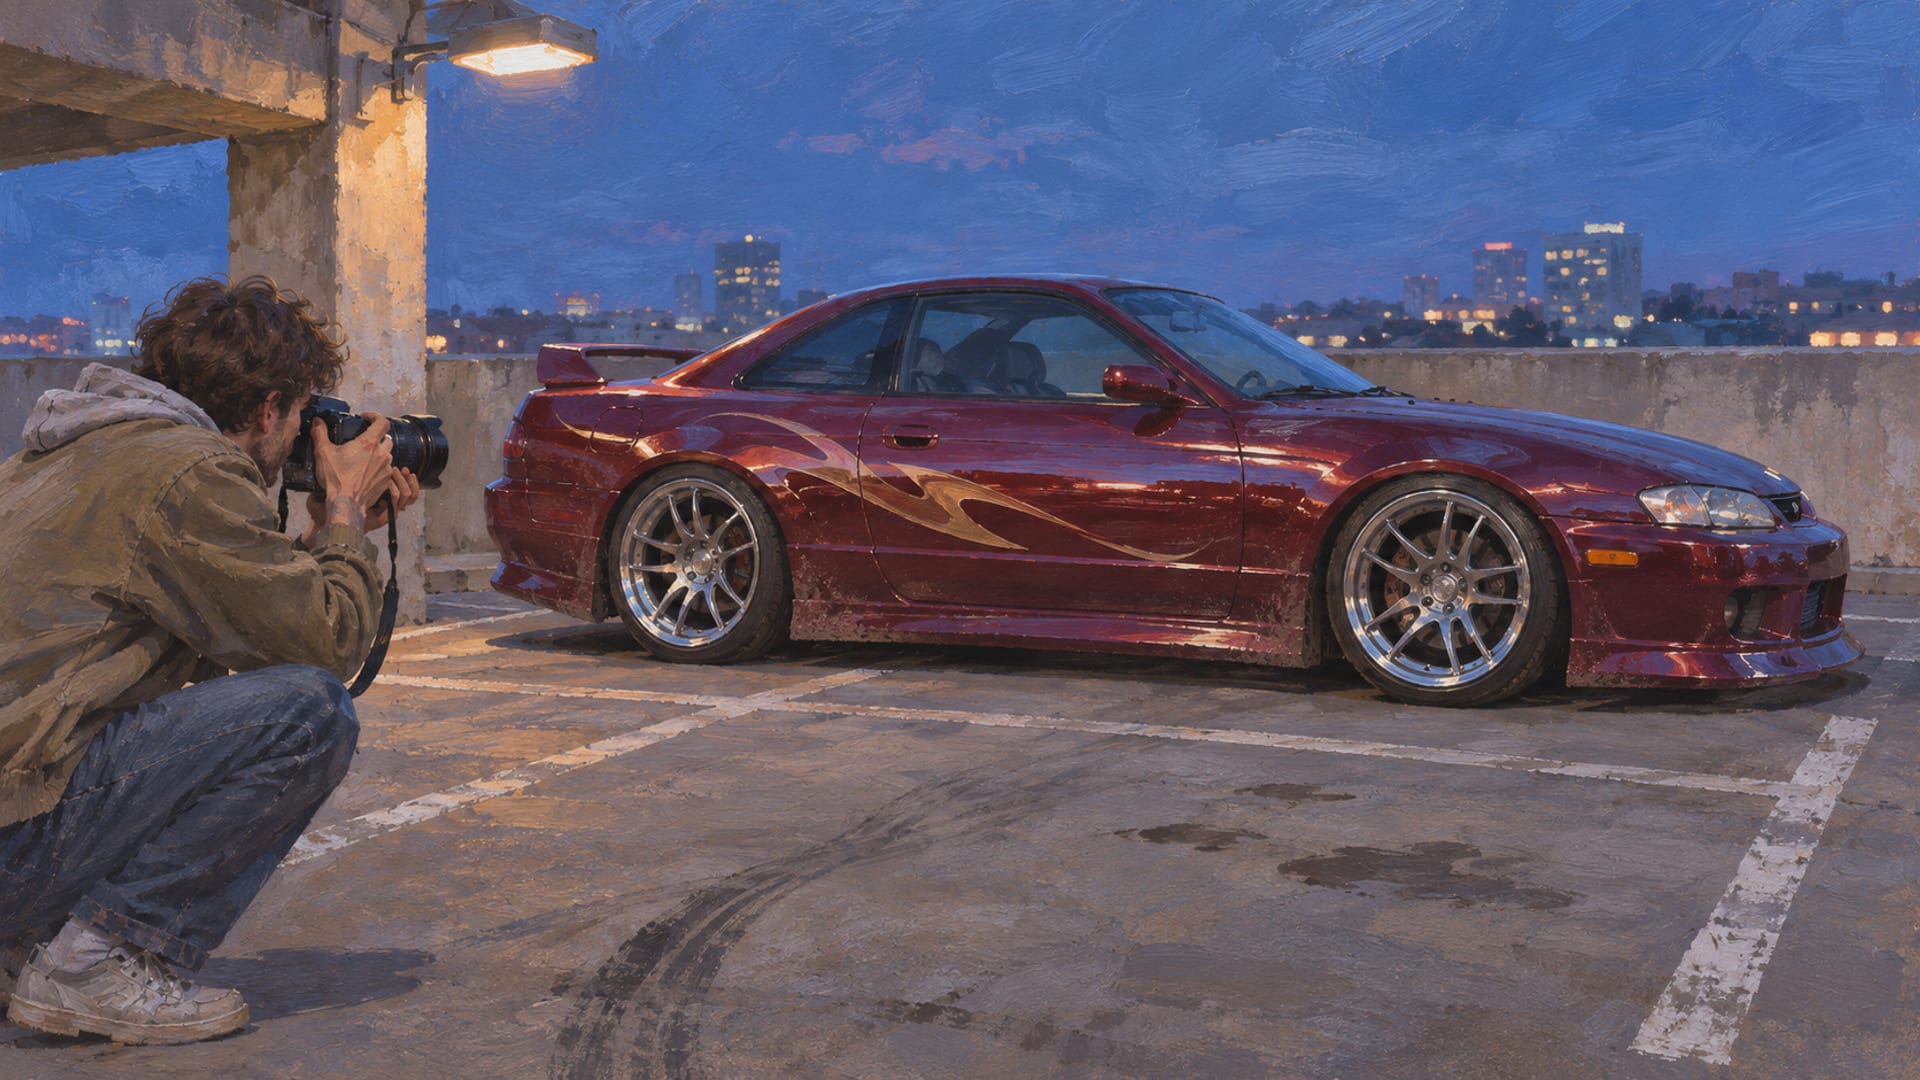
GTA 6 has a photo mode called Photo Studio, available on PS5 and Xbox Series X|S since the game launched on November 19, 2026. Pause the game and select Photo Studio, or use the shortcut from the pause menu: Square on PS5, X on Xbox.
The workflow that gives you a clean shot is short. Frame the picture with the camera, set the focus, light and effects, hide the interface, then take the final capture with your console's own screenshot button.
Photo Studio is separate from Snapmatic, the in-game phone feed. The controls below are launch-build reports dated November 18 and 19, 2026, so confirm the on-screen prompts on your console, since controls can change with updates.
Key Takeaways
Where it lives
Photo Studio is in the pause menu on PS5 and Xbox Series X|S, with Square on PS5 and X on Xbox as the shortcut.
Best order
Frame the shot first, then set focus and light, then add the filter and vignette.
Hide the UI last
Hide the interface right before you capture, using Triangle on PS5 or the on-screen Hide UI prompt on Xbox.
Clean capture
Use your console's own screenshot button after the interface is hidden to get a file you can share.
Does GTA 6 have photo mode on PS5 and Xbox?
It does, and it sits in the pause menu rather than behind a phone app or a mission. Launch guides from GAMES.GG and Insider Gaming both describe the same path: pause, pick Photo Studio, and you are in a camera mode with its own controls and effects.
Those guides place Photo Studio in the pause menu from the early game, with no mission unlock reported. Rockstar has not published a Photo Studio control list, so the on-screen prompts are your reference. If you do not see it, pause once you have control of your character and look again.
Platforms matter here. Rockstar lists GTA 6 for PS5 and Xbox Series X|S on its GTA VI page, and Take-Two's launch announcement names the same two consoles. Rockstar has not announced a PC version or PC photo tools.
If you are waiting on PC, Is GTA 6 coming to PC keeps the status in one place. Use the standard workflow below, and check the current update notes if an extra option shows up in your edition. For edition questions in general, see One-Eyed Willie's and the Ultimate Edition.
How do I open Photo Studio on PS5 and Xbox?
Start from the pause menu. On either console, pause the game, then select Photo Studio from the list, or press the shortcut shown on screen. Launch guides report Square on PS5 and X on Xbox as that shortcut.
You can use Photo Studio on foot or from a vehicle, which is what makes it handy for a build. Park the car where you want it, pause, and the camera takes over from there. If you are framing a character instead, the same steps apply, and the wardrobe has looks worth photographing.
Do not confuse the phone camera with this. Snapmatic is the in-game phone social feed. Photo Studio is the photography tool you reach from the pause menu, and it is the one with the free camera, focus controls and effects described below.
A quick note on terms. A free camera means you can move the viewpoint around the scene instead of staying locked to the player's shoulder. Launch guides report that Photo Studio's camera moves freely, so you can step back from a car, drop low beside a wheel or swing around to catch the light on the paint.
What can I change in Photo Studio?
Reports of the launch build list a solid set of photography controls. You can set the aspect ratio, aperture and depth of field, adjust color, apply filters and a vignette, and add lighting where the scene allows it. TotalGTA's controls guide and the GAMES.GG guide agree on these categories.
Here is what the main terms do for a build shot.
- Aspect ratio sets the shape of the frame, which matters if you plan to crop for a thumbnail or a post.
- Aperture and depth of field control how much of the scene stays sharp. Depth of field is the focus and blur control that separates a subject from the background, so a car can stand out from a busy street.
- Color and filters shift the overall look, from natural paint tones to a stronger grade.
- Vignette darkens the edges of the frame to draw the eye inward.
- Added lighting lets you shape how a vehicle or outfit catches the light, where the scene supports it.
Work in that order and you spend less time undoing choices. Frame first, then focus, then light, then finish with the filter and vignette. A filter applied before the framing is settled tends to mislead you about what the shot actually looks like.
What are the PS5 camera controls?
The PS5 controls are the most fully reported. As reported for the launch build, the left stick moves the camera and the right stick angles it. L2 and R2 handle zoom. L3 resets the camera, which is the fastest way out of a frame that has drifted somewhere strange. Triangle hides the interface, and Cross saves the photo.
These come from TotalGTA's PS5 and Xbox controls guide and the GAMES.GG walkthrough, and they are launch-build observations rather than a Rockstar control list. Treat the on-screen prompts as the final word, because a patch can move a button.
A useful habit is to move the camera first and angle it second. Place the viewpoint where you want it, then use the right stick to aim, and finish with a small zoom rather than starting from a tight lens. Zooming in early makes it harder to see how the car sits in its surroundings.
If you want somewhere interesting to shoot, the Leonida map page is a good way to pick a location before you load in. Planning the spot first saves time hunting for a background while the light changes.
What about Xbox Series X|S controls?
The Xbox shortcut is X from the pause menu, as launch guides report. For the rest of the Xbox layout, rely on the on-screen prompts.
The practical answer is to read the prompts along the bottom or side of the screen when Photo Studio opens. They list the current layout for your controller, and they are the quickest way to find camera movement, zoom and reset on Xbox.
ViceManual and Hit Crit report Y as the Hide UI control on Xbox. Confirm it against the Hide UI prompt on your own screen.
The PS5 and Xbox pieces of the workflow line up closely, so the same steps work on both consoles. The difference is mostly which face button you press, which is why a quick look at the on-screen prompts is worth the few seconds.
How do I hide the UI and control the vignette?
Hide the interface last, right before you capture. On PS5 that is Triangle. On Xbox, guides report Y, with the on-screen Hide UI prompt as the thing to confirm. With the controls gone, the frame is just the scene, which is what you want in a build photo.
The vignette is an adjustable overlay. It adds shading around the edges of the image, and Photo Studio lets you change it as one of its effects. If a shot looks darker at the corners than you intended, open the effects and lower the vignette instead of reaching for a different filter.
Separate from Photo Studio, the regular HUD has its own settings. Rockstar's settings support page lists a UI category with controls for HUD notifications, prompts, player and vehicle status, and related interface elements. That matters if you want a cleaner screen while you drive or walk up to your shot, before you ever open Photo Studio.
One more thing to check before you hide the interface: make sure the frame is final. Once the controls are hidden you cannot easily see which button resets the camera, so if you need a change, bring the interface back first, adjust, then hide it again.
How do I save a clean screenshot to share?
Use the console screenshot after the interface is hidden. Photo Studio's own save command may write to an in-game gallery or to console media storage, so the dependable route for a file you can share is the console capture.
On PS5, press the Create button and choose Take Screenshot. The image lands in Media Gallery. From the control center you can open Recently created, select the capture and choose Share, or you can open Media Gallery and share from there. Sony's screenshot support page and edit and share page walk through it.
You can also copy PS5 captures to a USB drive. With automatic uploads on, supported screenshots appear in the PlayStation App for 14 days, where you can download them or share them to another app, according to Sony's PlayStation App captures page. Availability depends on your region and settings.
On Xbox Series X|S, tap the controller's dedicated Share button to capture a screenshot, then use the Xbox capture and sharing tools or a supported destination. Microsoft describes this on the Xbox console experience page and the getting started page. After you capture, follow the sharing and export options your console shows, since they can vary.
Here is how the two consoles line up for the steps that matter most.
Photo Studio steps on PS5 and Xbox
| Task | PS5 | Xbox | Where it is reported |
|---|---|---|---|
| Open Photo Studio after pausing | Square | X | Launch-build guides, November 18, 2026 |
| Hide the Photo Studio interface | Triangle | Y, as reported by current guides | Launch-build guides, November 18 and 19, 2026 |
| Capture the clean frame | Create button, then Take Screenshot | Dedicated Share button | Sony and Xbox console guidance |
| Where captures go | Media Gallery | Xbox captures | Sony and Xbox console guidance |
When the shot is ready, the showcase is where community builds and photo-mode shots are displayed, and the contests page has the details when a photo contest is running.
Does Photo Studio work during cutscenes?
It can. Insider Gaming and GAMES.GG both report that Photo Studio opens during cutscenes, though some controls may be marked currently unavailable. Expect fewer adjustable effects there than during normal play.
That makes cutscenes a handy place to grab a framed shot of a character, but it is not the place to plan a detailed build photo. For a car or outfit shot with the full set of effects in reach, pause during regular play where you control the scene.
Photo Studio also has limits worth knowing. Controls, available effects, cutscene restrictions, capture behavior and sharing features are launch-build information and can change through patches. Rely on what the menu shows today, and check Rockstar's patch notes before counting on a feature that has not shipped.
If you want to plan a shoot around a particular car, the garage is the place to start. A finished vehicle build is the natural subject for Photo Studio, and having the paint and wheels settled before you pause saves you from re-framing later.
Quick answers about GTA 6 photo mode
Short answers to the questions players ask about Photo Studio.
Is Photo Studio the same as Snapmatic? No. Photo Studio is the photography tool in the pause menu, and Snapmatic is the in-game phone social feed. They are separate features.
Can the camera move freely? Yes. Launch-build guides report free camera movement, with the left stick moving the camera and the right stick angling it on PS5.
Can I turn off the vignette? The vignette is an adjustable overlay in Photo Studio's effects, so you can lower it or change it there.
Is there a PC version with photo tools? Rockstar's current pages list PS5 and Xbox Series X|S only, and Rockstar has not announced a PC version or PC photo tools. For the latest, see Is GTA 6 coming to PC. More answers live on the FAQs page.
Next step
Open Photo Studio on your next build, run the sequence once from frame to hidden interface, and take a console capture. When you have a shot you want to show off, post it publicly on a platform you already use and send the link through the submit page, or browse the blog for more GTA 6 customization guides.
Glossary
Tap a term to see what it means.
Photo Studio. GTA 6's pause-menu photography tool.
Snapmatic. The in-game phone social feed, separate from Photo Studio.
Free camera. A camera you can move around the scene instead of staying locked to the player's shoulder.
Depth of field. The focus and blur control that separates a subject from the background.
Aperture. A camera setting that affects how depth of field looks.
Vignette. Edge shading applied as an overlay around the image.
HUD. On-screen gameplay information such as the minimap, prompts and status displays.
Console capture. A screenshot or clip saved by the PS5 or Xbox system rather than by the game.
Related articles
GTA 6 photo mode tips for better screenshots
GTA 6 photo mode: Open Photo Studio from the pause menu for planned shots. Frame with the grid, set depth of field, add light layers, choose Save Photo.
How to record GTA 6 clips for YouTube on PS5 and Xbox
Record GTA 6 clips on PS5 or Xbox Series X|S with the built-in capture tools, move them to a phone or computer, then upload through YouTube Studio.

How to take and share GTA 6 screenshots on PS5 and Xbox
GTA 6 screenshots on PS5: press Create, choose Take Screenshot. On Xbox: press Share. Move captures to a phone with the PlayStation App or Xbox mobile app.